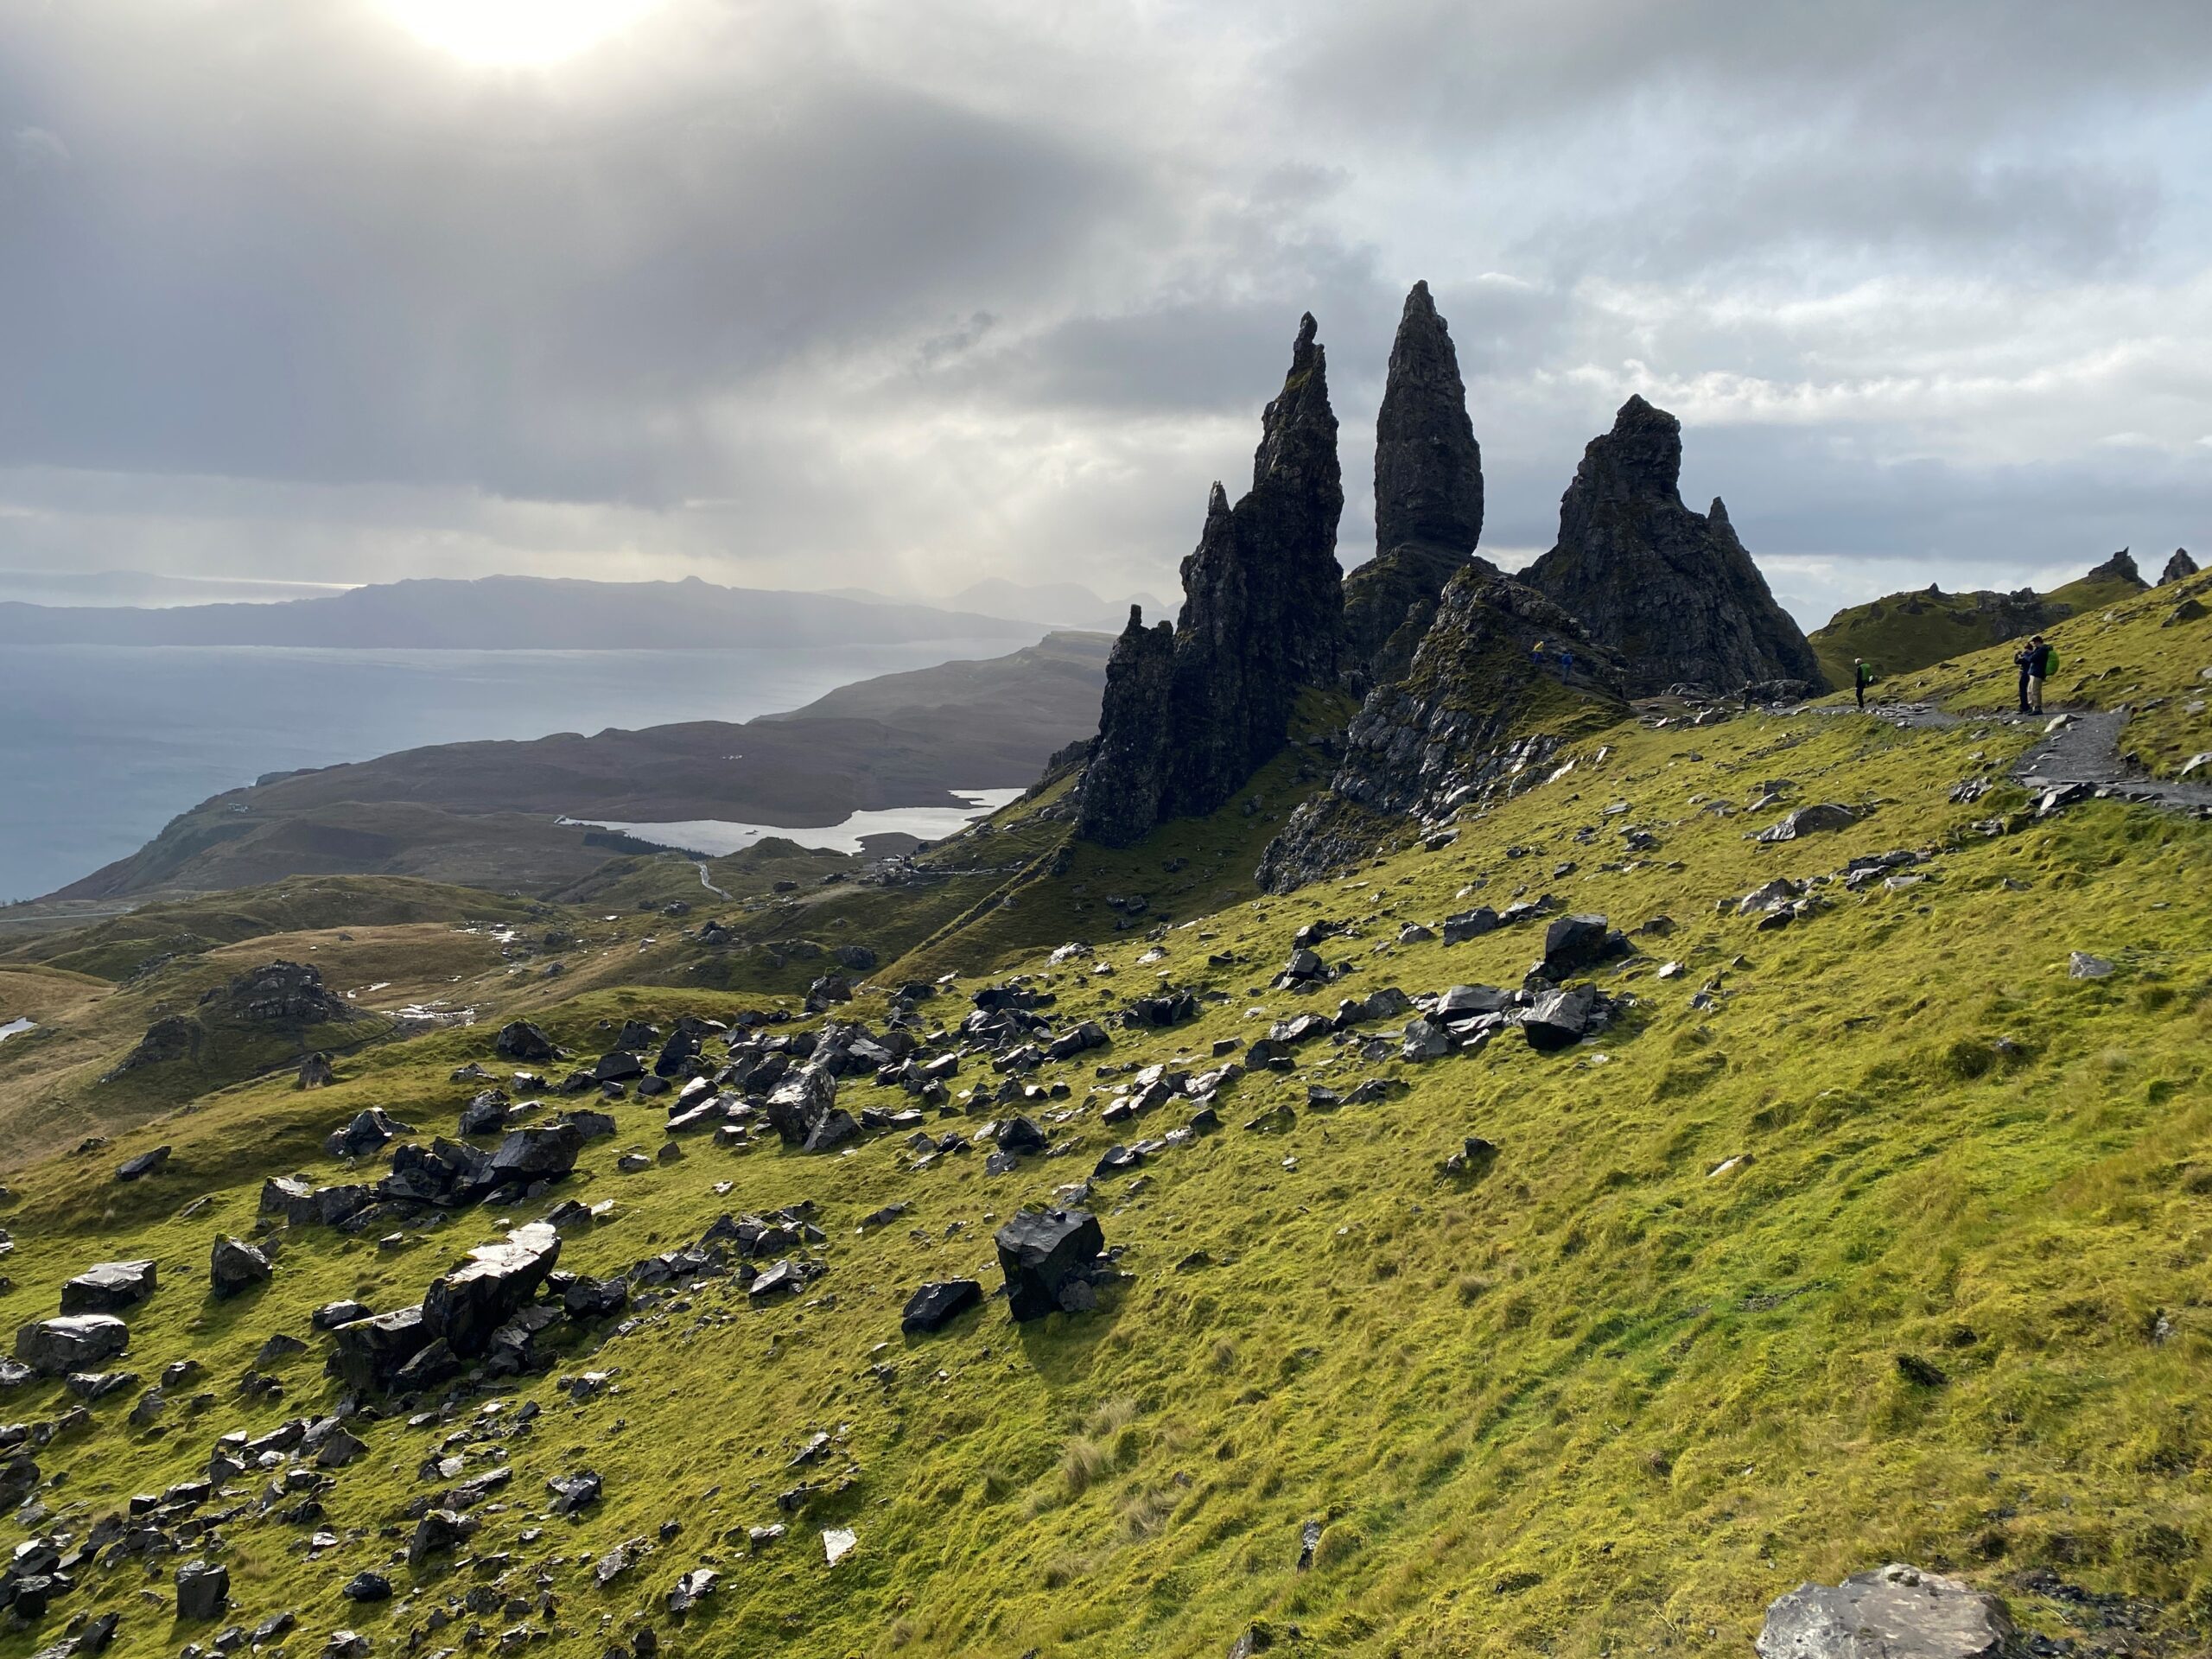
We’ve written posts about big trips, weekend trips and day trips. This post discusses how to take a trip for about two hours–all within the convenience of your own home…aka movie travel. I don’t know about you, but certain movies have the ability to suck …
How often do you go out exploring your own backyard? This past weekend, we headed to the mountains. Our goal: huckleberries. I am happy to report that we were successful and came home with a nice little haul. R had family visiting from another state. …
When S, B, and I visited Bali, we knew we wanted to see as much of the island as possible. One way to do this was through a sunrise hike, where we would experience a sunrise after making our way up the side of a volcano. What follows is our actual experience.
Sunrise Hike means Pre-Sunrise Alarm
The van picked us up from where we were waiting on the side of the road at 2:30 a.m. S, B and I climbed bleary-eyed and not quite functioning into the eight-seater passenger van and drove around Ubud for another 30 minutes picking up the remaining passengers: a girl from France and a girl from Germany. What was the reason for our nocturnal gathering? The allure of a sunrise hike up one of Bali’s biggest volcanoes: Ganung (Mount) Batur.
From Ubud, our driver drove to a small village at the base of the volcano called Toyabungkah. We didn’t see much of this town as it was only 3:45 IN THE BLESSED MORNING and still dark. We met up with our adorable little guide and his helper who would take us up to welcome in the sunrise.
The Rain Started
The hike itself was listed as ‘moderate’ in difficulty and takes about two hours to get to the summit. The whole purpose is to hike to the top in the dark and then be at the summit to see the sun rise over the lake in the middle of the caldera (the center of a volcano). Sounds great, right? Well, that’s how S and I talked B into doing this particular venture. If she would have known what was actually going to go down, there’s no way she would have agreed.
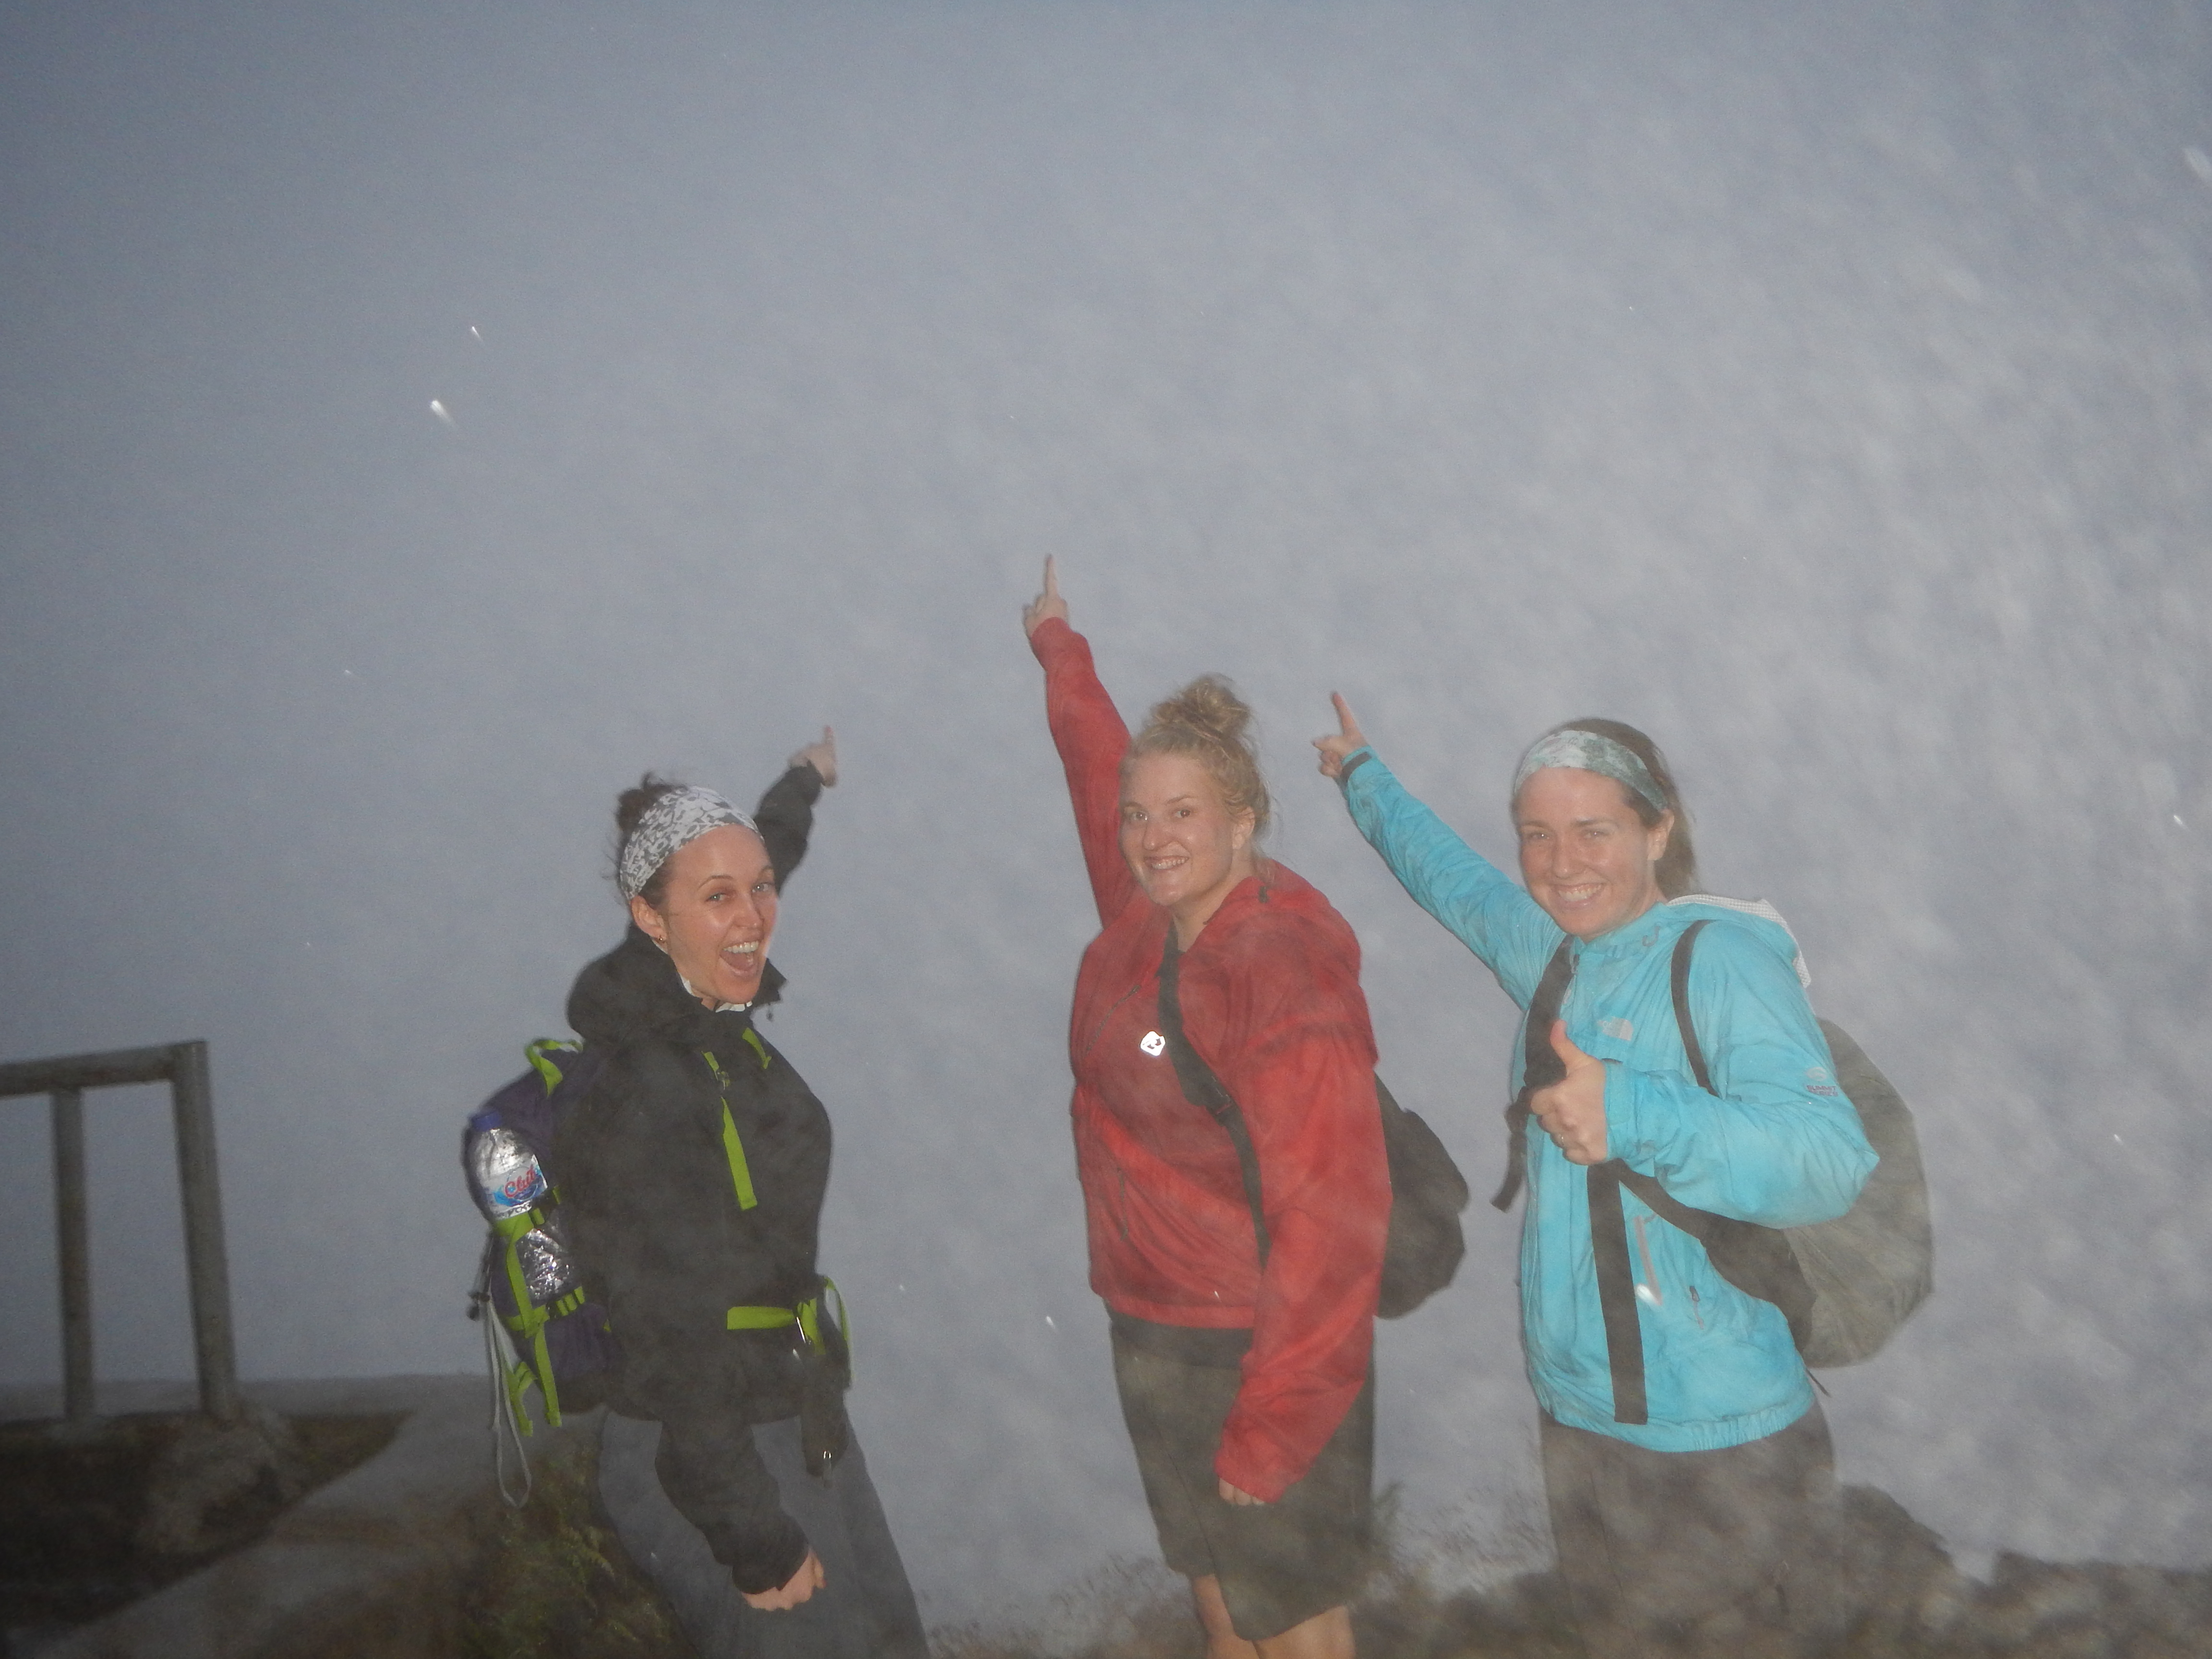
Here’s what happened: about a quarter of a mile from Toyabungkah, the sprinkling began. Being the prepared Janes that we are, S, B and I pulled our rain jackets out of our packs and put them on over our headlamps. We were fine for about ten minutes….until the real rain started. Within the first 15 minutes of our hike (in the dark, at four in the morning), we were soaked. Not just a little wet, but all the way soaked. In the part of Idaho where we live, it is a desert that receives about 10 inches of rain per year. I’m pretty sure we got 10 inches of rain during our hike alone. It was so wet in fact, that our waterproof raincoats were useless. There was as much water in them as there was out.
Sidenote: Background
Let me pause here to tell you a little bit about how cool Gunung Batur is. Batur is located on the northwest side of Bali and reaches to 5,600 feet above sea level. It is in the middle of two huge calderas and is close to Gunung Agung, the highest point on Bali. There are several villages in the area and the locals farm the green (probably from all the rain) and lush landscape. There are dark lava fields all over and in the middle of the lake in the caldera is a smaller volcano that is still active–last erupting in 2000. Here’s what Lonely Planet says about it: “The Gunung Batur area is like a giant bowl, with its bottom half covered by water and a set of volcanic cones jutting out of the middle. Sound a bit spectacular? It is. On clear days – vital to appreciating the spectacle – the turquoise waters wrap around the newer volcanoes, which have old lava flows oozing down their sides.” I love how the LP caveats it…the day of our hike was not clear and we definitely didn’t appreciate what we were looking at. Or for rather.
Although Bali is a part of Indonesia, Islam is not the predominant religion. Instead, about 80 percent of the island practices Balinese Hinduism, a version of Hinduism that incorporates worship of non-human entities. Balinese believe the Batur is one of the four primary sacred mountains where the Gods live. The lake in the middle of the caldera is sacred to the Goddess of the Lake, for which it is named. Tour companies request that women do not climb the volcano during their menstrual period. This is pretty common in Indonesia and while I try to be culturally sensitive, it rankles my feminist little heart. But back to the hike.
Sunrise Hike, minus the Sunrise
Since we couldn’t see anything because it was dark, we didn’t notice the thick fog that we were climbing in until it got a little lighter and we finally made it to the summit. There is a little tin/rock shack on top of the mountain and by the time we reached it, it was pretty full of other hikers waiting for their chance to catch the ‘spectacular’ view. While we all hunkered down to get protection against the wind and rain, we were treated to a cacophony of voices in different languages and bananas and sandwiches. These were much appreciated, but not quite the eggs cooked in the steam of the volcano that we had been told about. Oh well. We waited in the shack for about 45 minutes, with an intrepid soul leaving the protection against the elements to go check on the sun’s progress every few minutes.
Since Bali is close the equator, the sunrise and sunset are pretty predictable…it rises around 6 a.m. every day. Well, 6 a.m. came and went. All we saw were wet tourists and a lot of fog. It was a bit anticlimactic. Around 7 a.m., our guide apologetically told us we were not going to be able to see anything and that we should head down the mountain. The rain had mostly stopped by this point, so at least we weren’t still dealing with that on our descent, but it was really sad to know beautiful things are hiding just behind the clouds.
Calling It
We got back to the van around 9:30 a.m. a little worse for the wear. Except the Europeans, who had that inexplicable and innate talent of looking stunning and fashionable in totally improbable situations. Guaranteed, I would not have looked as chic in cut off jeans and black nylons, but such is life.
Conclusion
Seeing the sunrise over Gunung Batur is an amazingly beautiful experience. So I hear. On the plus side, this was probably the only time that we were in Indonesia that we weren’t hot. Our poor guide was shivering at the summit, but we finally felt comfortable.
Let us talk about tour group challenges. Since last week’s post discussed Morocco and some of the benefits of group travel, I thought it only fair to discuss some of the less pleasurable aspects of traveling with a tour group. Knowing both sides can only help …
B and I are travel junkies; there are few places we really don’t want to visit (hello, Moldova), but overall we’re pretty much open to whatever. This is helpful when we come across a good travel deal, like we found a few years ago for …
My coworker’s husband has just left on his first international trip to London. And other than a couple of trips to Mexico, this is his first international voyage. His wife has not done a lot of traveling herself so she has been asking me a lot of questions. Based on that, I figured I would put together a list of things every first-time traveler should know or do.
(Please note that this is not a comprehensive list, but rather a collection of thoughts based on a conversation with an actual first-timer.)
10 tips for your first international trip
Call your bank. And your credit card companies. Ask them to put a travel alert on your account. The last thing you want is for your bank to freeze your account the first time you try to get money out of the ATM.
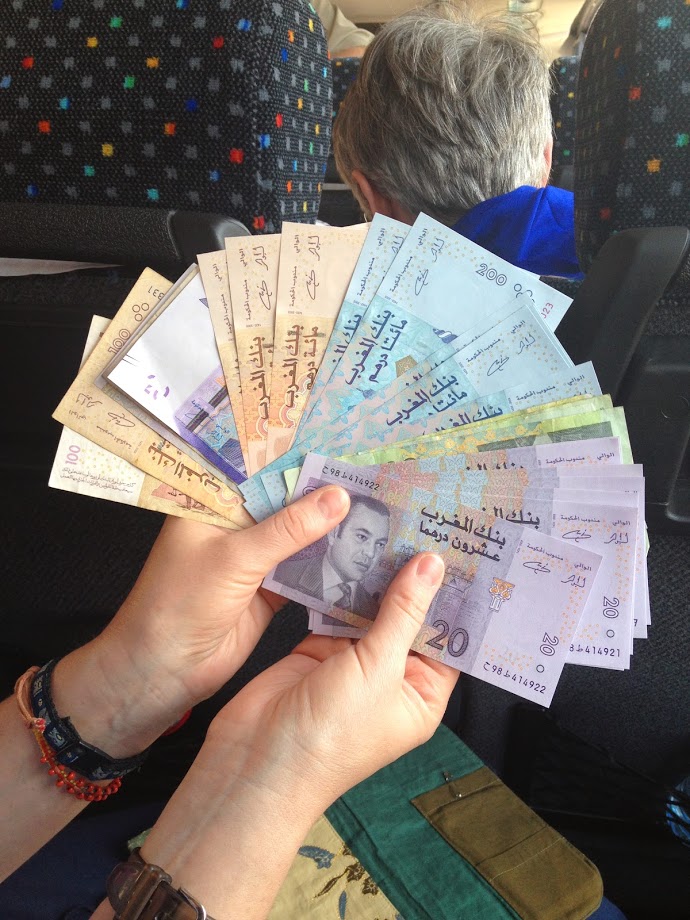
Speaking of ATMs, plan on using it to get cash. We try to locate one as soon as we arrive at the airport and only once have we had any trouble (I’m looking at you, Kraków). My coworker’s husband was planning on exchanging cash. Now this is certainly an option, but I personally am not comfortable carrying around that much cash. Plus, the exchange rate is not great at those airport kiosks and they sometimes run scams on tourists.
Figure out your cellphone before you go. Find out if it even works in the country you are traveling to and how much a phone call, text message and data will cost you. Learn how to turn things off (e.g. international roaming, data, etc.). R recently learned that if she puts her phone in airplane mode, she can still use Wi-Fi. And I recently discovered that Verizon has great rates in both Mexico and Canada—which came in real handy when I traveled to both Canada and Mexico earlier this year. You just have to do a little homework. Also, if you have an iPad or an iTouch, you can use iMessage and Facetime (assuming you have Wi-Fi) with other Apple users and stay in touch without ever having to turn on your phone. Our phones are like appendages these days so figuring out the best way to operate it on your first international trip will save you a lot of angst.
Do not wear anything with your alma mater or favorite team printed on it. No matter what you wear, you’ll never fit in completely. But there is no reason to shout, “I’M A TOURIST!”—which is exactly what you’ll do by wearing your favorite college hoodie. Instead, pick up something that has been locally made.
Learn to say “thank you” in whatever the local language is (Google Translate can help with this). That and a smile will take you a long ways. If you can learn a few other key phrases, great! Just make sure you at least learn “thank you” and use it often. Also, don’t assume everyone speaks English. Ask first before you start yammering away.
You don’t have to pack everything. Seriously. Unless you are headed somewhere super remote or rural, there are going to be stores similar to what you are used to (and part of the fun of traveling is shopping in them). Don’t pack that extra toothbrush just in case you need it. If you lose that first one for whatever reason, you can always buy another one. For additional tips, check out this post on the tools and gear to help you pack light and this post on the tricks to packing light.
Figure out your electronics and buy the right converter (and adapter if necessary) before you go. It is pretty easy to find or order a converter for another country here at home. It is not so easy to find one once you are out of the U.S.
Download your books, movies, music and travel apps before you have to turn off your cellular coverage/data. These things take time and you should plan accordingly. Also, make sure you test out any new apps before the big day. The description might have made that cool map app seem like the best thing since sliced bread, but if you don’t know how to use it or you find out it does not work offline, you might be in trouble.
Jet lag is real. The best advice I have (given to me by a coworker who travels extensively) is to stay awake until nighttime. Even if you arrive at your destination in the early morning, try to stay awake until at least early evening. If you take a nap in the middle of the day, you are probably going to be wide awake sometime around 2 a.m. I have found that if you can make it through that first day (which can be hard—you’ll want to stay busy), you’ll crash hard that first night and then awake the next morning ready to go.
Relax. It can be stressful visiting a foreign country for the first time…or tenth. If you find yourself getting anxious, simply stop and take a deep breath. You will have a much better time if you are not freaking out about the fact that you cannot read the menu. Do yourself a favor on your first international trip and learn to relax.
Conclusion
With a little research and a little preparation, your first international trip can be a little more smooth and a little less stressful.
A few years ago in a Quito hotel, I forgot that I wasn’t supposed to drink the water in Ecuador and swallowed down a swig after brushing my teeth. In that moment, as I contemplated contracting giardia, typhoid fever and hepatitis, I realized just how …
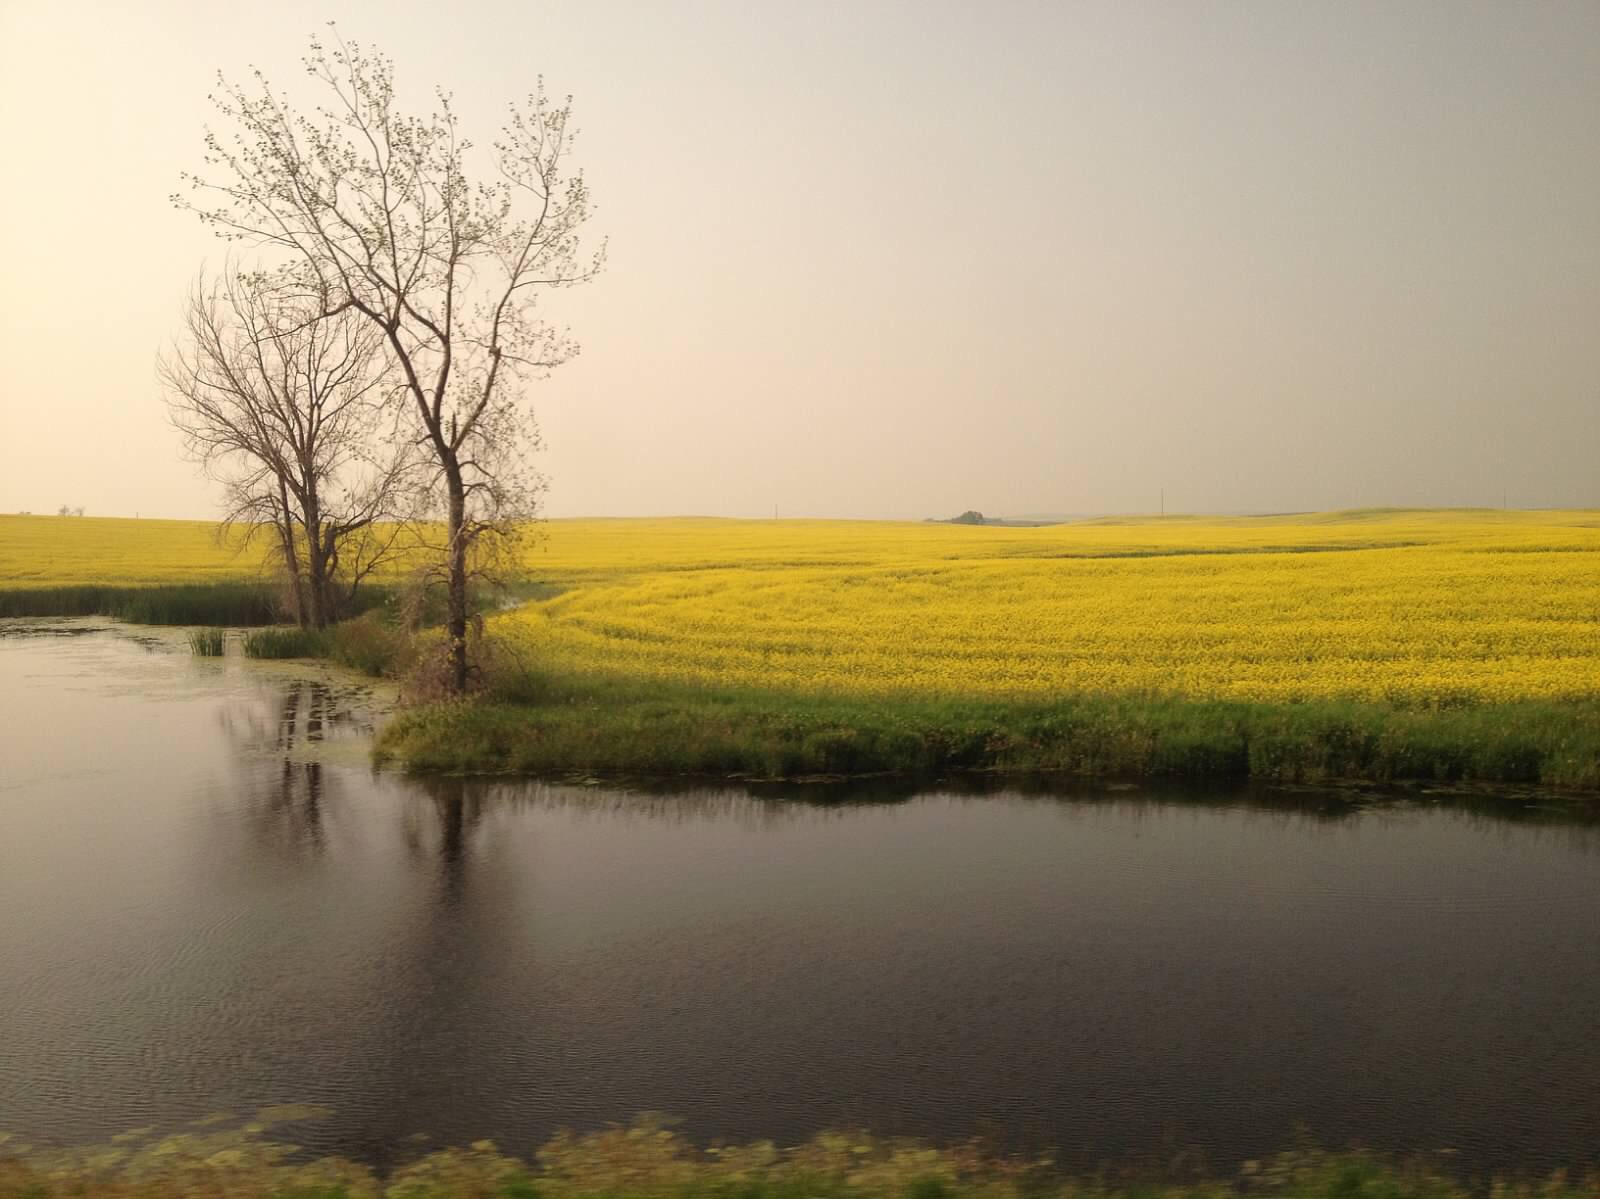
One year ago today, I rolled through North Dakota. It was very exciting. Now normally, a trip to North Dakota is not necessarily worthy of any sort of celebration (no offense to the 750,000 people who live there). But this was no ordinary trip for …
One of the first things I do after we’ve booked tickets for a trip is make a beeline to the library so I can see what they have for me in the travel guidebook section. I LOVE guidebooks. Nothing gets me more excited about visiting a place than to see all the cool things that are available for me to do. This post will discuss the merits of the humble travel guidebook and recommend some things to look for as you use a guidebook to plan your next trip.
Publishing Date
The single most important feature in a good travel guidebook is its publishing date. Think about it–you’ve just read a review of a 5-star restaurant that only cost $2 per plate, but when you get there you realize the place closed in 1965. Not very helpful. When I am contemplating which guidebook to buy for a trip, I will compare the dates of a few books to see which was published or edited most recently.
A lot of guidebooks are written a while ago but are updated with current information. (This would be the best job ever. You wouldn’t even have to do that much–just go to the places that have been previously recommended and make sure they are still good. Sigh…if only.) I try to get guidebooks that have been published in the last few years.
Travel Guidebook Clientele
Most guidebooks can be grouped by the type of travel they are appealing to. Lonely Planet and Rough Guide cater to a traveler with a smaller budget and Fodors and Frommers are written for folks with a few more dollars in their bank accounts. I personally, am probably not going to be buying a Fodors or Frommers book anytime soon. I’m just not that big of a baller.
Media Type
Travel guidebooks can come in hard copy or electronic format. I prefer a hard copy book, but that’s probably because I like having something tangible in my hands. I like to tag pages that have things I am interested in and I think it is easier to find what I am looking for later. However, e-books don’t take up any space in your bag and are always at your fingertips if you keep them on your phone. I recently found deal on Travelzoo where I was able to buy three Lonely Planet e-books for $25. I will be able to give a more thorough review of that after we visit Australia next year.
Travel Guidebook Parts
Once you have selected a guidebook, you want to make the most of it. Below are the features that I find most useful.
Country History
This section is typically at the beginning of the guidebook and most people probably skip right over. This is a big mistake though (and I’m not saying that just because I have a history degree). It is always, repeat, always, a good idea to have a background of the country you are going to. Americans have a bad reputation around the world for being arrogant. Sure, English is the universal language. And sure, U.S. dollars are accepted in a lot of countries. But that doesn’t mean the rest of the world is an extension of America. A little background on a country will help you understand the country’s culture and might prepare you for how it is different than what you are used to.
Top 10, 15, 20, etc. Lists
There is a section in pretty much every travel guidebook that has colorful pictures of the places, things, experiences that the author deems most worthy of your time. These will most likely be the things that the country is most known for, but there are sure to be some gems that you haven’t heard of and might not want to miss. It would be challenging to be able to check off all of this list in your visit, but it is a great place to start to build your itinerary.
Itinerary
Speaking of itineraries, your travel guidebook should have a section that builds an itinerary for you based on a few criteria. Some do this by time (like Rick Steves) and some do it by interests (like Lonely Planet). When we travel, B and I do a little research independently and come back with the things we most want to do. Sometimes these are the same, but more often than not, they are different.
Since it is impossible to fit everything in, we pick our highest priorities and use the itinerary section of a guidebook to help us determine our own itinerary. I haven’t ever taken a trip where I follow an itinerary exactly as it listed in a guidebook. But it can be really useful to help you figure out the length of time you need for certain places, or mapping out how long it will take to get to other locations.
Anecdotes
Peppered throughout the main part of the travel guidebooks, authors will insert boxes with interesting tidbits of history, culture, etc. These are fascinating little reads and shouldn’t be skipped. For example, in Rick Steve’s Guide to Portugal, you can learn about a unique style of building that lasted for about a hundred years in the 15th century called Manueline Architecture. Portugal was wealthy at that time and decorated their buildings to the 9s. Go figure.
Walking Tours
Several books offer walking tours of towns/museums/etc. These are great (and free!) ways to learn all about whatever you are visiting. There are times when taking an organized tour is a great way to spend some money. Other times, you might not be feeling up to a tour group. A travel guidebook’s self-guided tour will give you all the important information you need to know as you walk along.
Conclusion
Travel guidebooks are an excellent tool to help you prepare and enjoy your trip. If you are heading to Europe, Rick Steves is my go-to with solid information albeit a little kitschy. In other countries, I recommend Lonely Planet, Rough Guide, or Moons. Make sure to get one with the most recent published date. Also, do not forgot that your local library is an excellent resource for finding these and others.