Tag: packing tips and tricks
-

AirFly Pro Bluetooth Transmitter for Travel (Product Review)
Twelve South’s Airfly Pro Bluetooth transmitter is a handy little device for being cord-free on a plane. The device plugs into the auxiliary jack receiver near the monitor and then sends a bluetooth signal to your headphones of choice. Note: This post may contain affiliate links, meaning if you buy something through one of these…
-

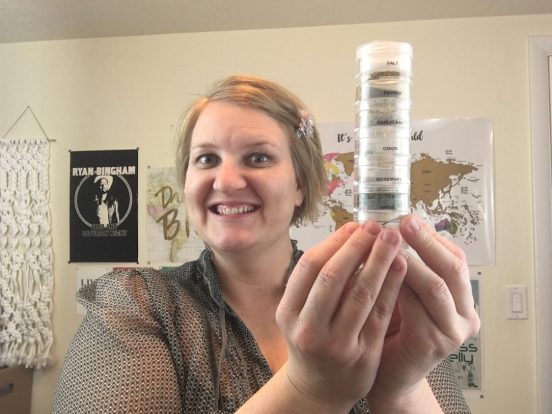
DIY travel spice kit: easy, affordable and convenient
I don’t claim to be a foodie and my palette is anything but refined. But a travel size spice kit does make it into my suitcase on certain trips and I am glad for it. I decided to make my own, personalized spice kit and I recommend you do the same. A DIY travel spice…
-
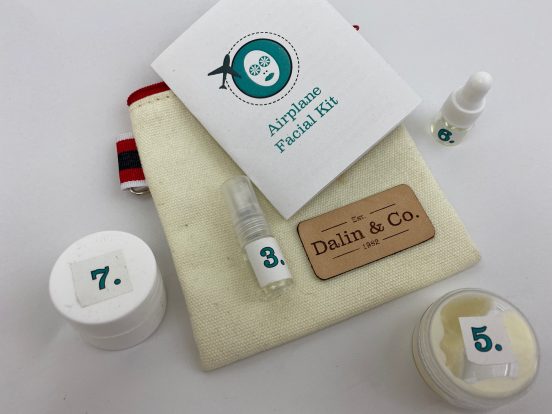
DIY Airplane Facial Kit: Pamper your Skin on a Long Flight
In this post I share the steps I took and the products I used to make a DIY airplane facial kit that provided a nice distraction and a little pampering on an overseas flight to Europe. Note: This post may contain affiliate links, meaning if you buy something through one of these links, we may…
-

Unique Tips for your Next Road Trip
I love a good road trip, that is no secret. I have discussed the elements of a good road trip and we have talked about some of our favorites including an three-day Oregon Coast road trip and an epic road trip through the South. But even if you enjoy a good road trip the way…
-

A novice’s guide to traveling with essential oils
Have you ever tried traveling with essential oils? Perhaps you have read about them and their many health benefits, but are not sure where to start. Or perhaps you know someone who swears their latest vacation would not have been the same without their essential oils and you want that same experience. I have only…
-

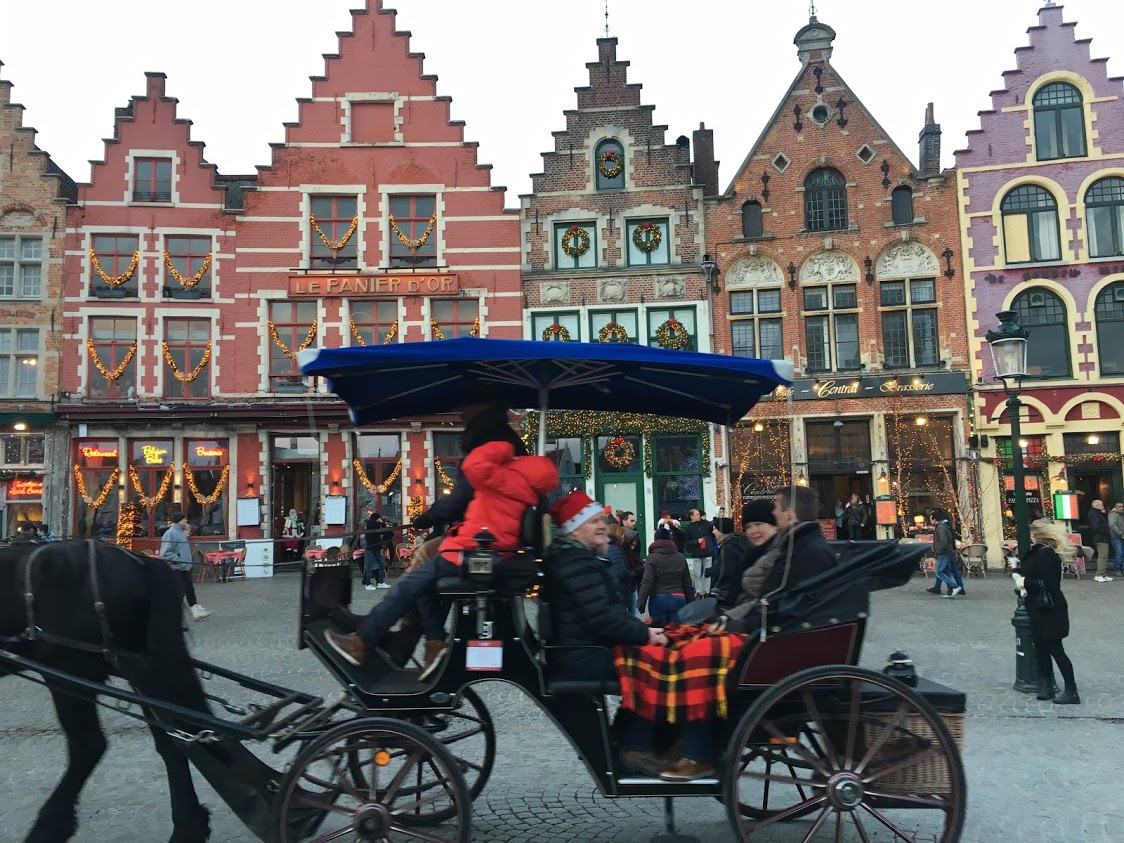
Christmas on the road: what to pack, how to prepare
In 2017, R and I spent our first Christmas on the road and away from home. As the only single gals in our respective families, traipsing across Europe for Christmas sounded like a fine idea. We love our families, but we are lucky enough to see them on a regular basis. And without kids of…
-
How long do solid travel toiletries last compared to liquid travel toiletries?
Remember the post I wrote about travel toiletries and how long they really last? Well I decided to try another experiment to see how long SOLID travel toiletries last and compare them to their liquid counterparts. In general, solids go further. A lot further. Solid shampoo I have been using a shampoo bar on my…
-

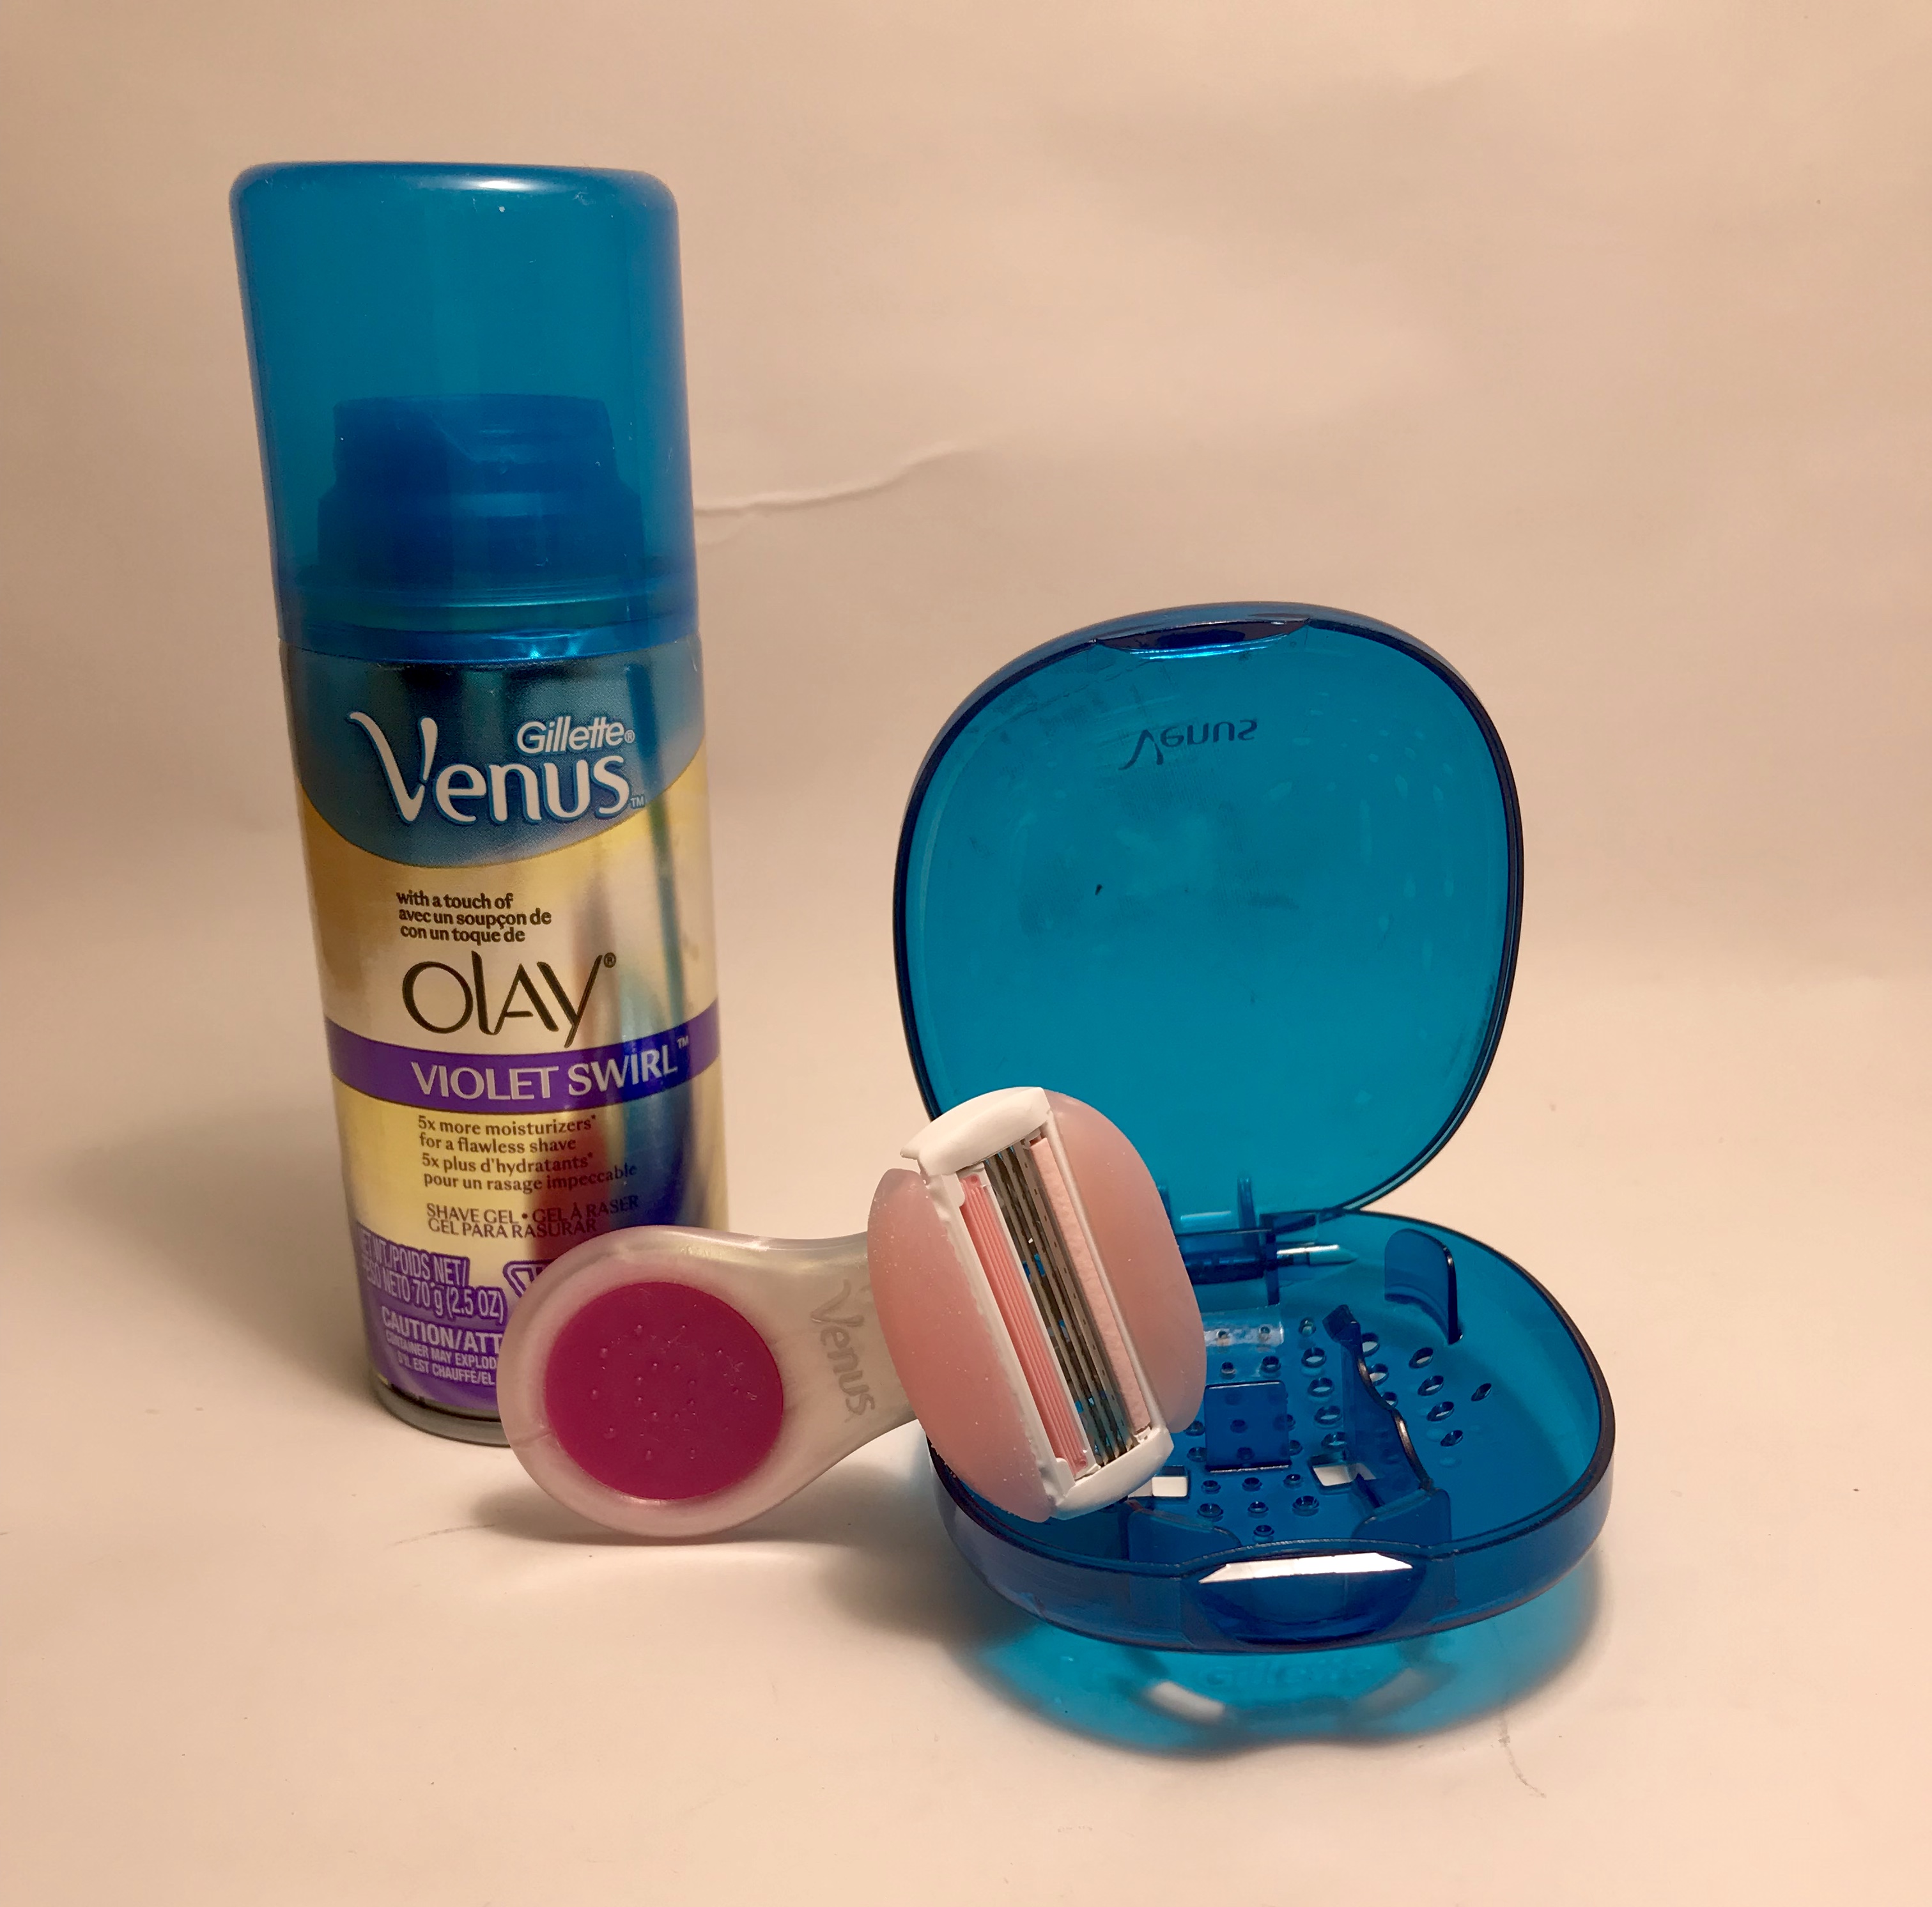
Best Travel Razor for Women Travelers
This post is premised on a few things: 1. B and I travel. 2. B and I are proponents of shaving. You might not agree with #2, and that’s just fine. Do whatever makes you feel free. However, if you are on board with these two assertions, read on to see how we’ve reviewed different…
-

Women’s wool sock comparison for travel
Mostly for kicks and giggles, I thought it would be interesting to experiment and conduct a wool sock comparison for travel to see which ones I should take on my next trip. Here at Jane Sees the World, we have been quite vocal about our love of all things Icebreaker. Their products have been a…
-

Travel Toiletries Tips
One of the most challenging aspects of getting ready for a trip, is to get together all of the toiletries you will need. This post will discuss some travel toiletries tips that will hopefully help you the next time you get ready for a trip. Travel Toiletries Tip 1: travel size items Have you ever…