product review
-

Train Travel Tips for Two Weeks in Canada
.
Taking the train across Canada was a dream come true for me. I do not remember when I first learned that it is possible to ride a train across Canada, but I was young and it remained a dream of mine for many years. After my good friend from college and main travel companion decided…
-

Movie travel – it’s a thing
.
We’ve written posts about big trips, weekend trips and day trips. This post discusses how to take a trip for about two hours–all within the convenience of your own home…aka movie travel. I don’t know about you, but certain movies have the ability to suck me in and for the length of that movie, I…
-
High quality H-2-O
.
A few years ago in a Quito hotel, I forgot that I wasn’t supposed to drink the water in Ecuador and swallowed down a swig after brushing my teeth. In that moment, as I contemplated contracting giardia, typhoid fever and hepatitis, I realized just how important a good source of water is. (Don’t worry, I…
-

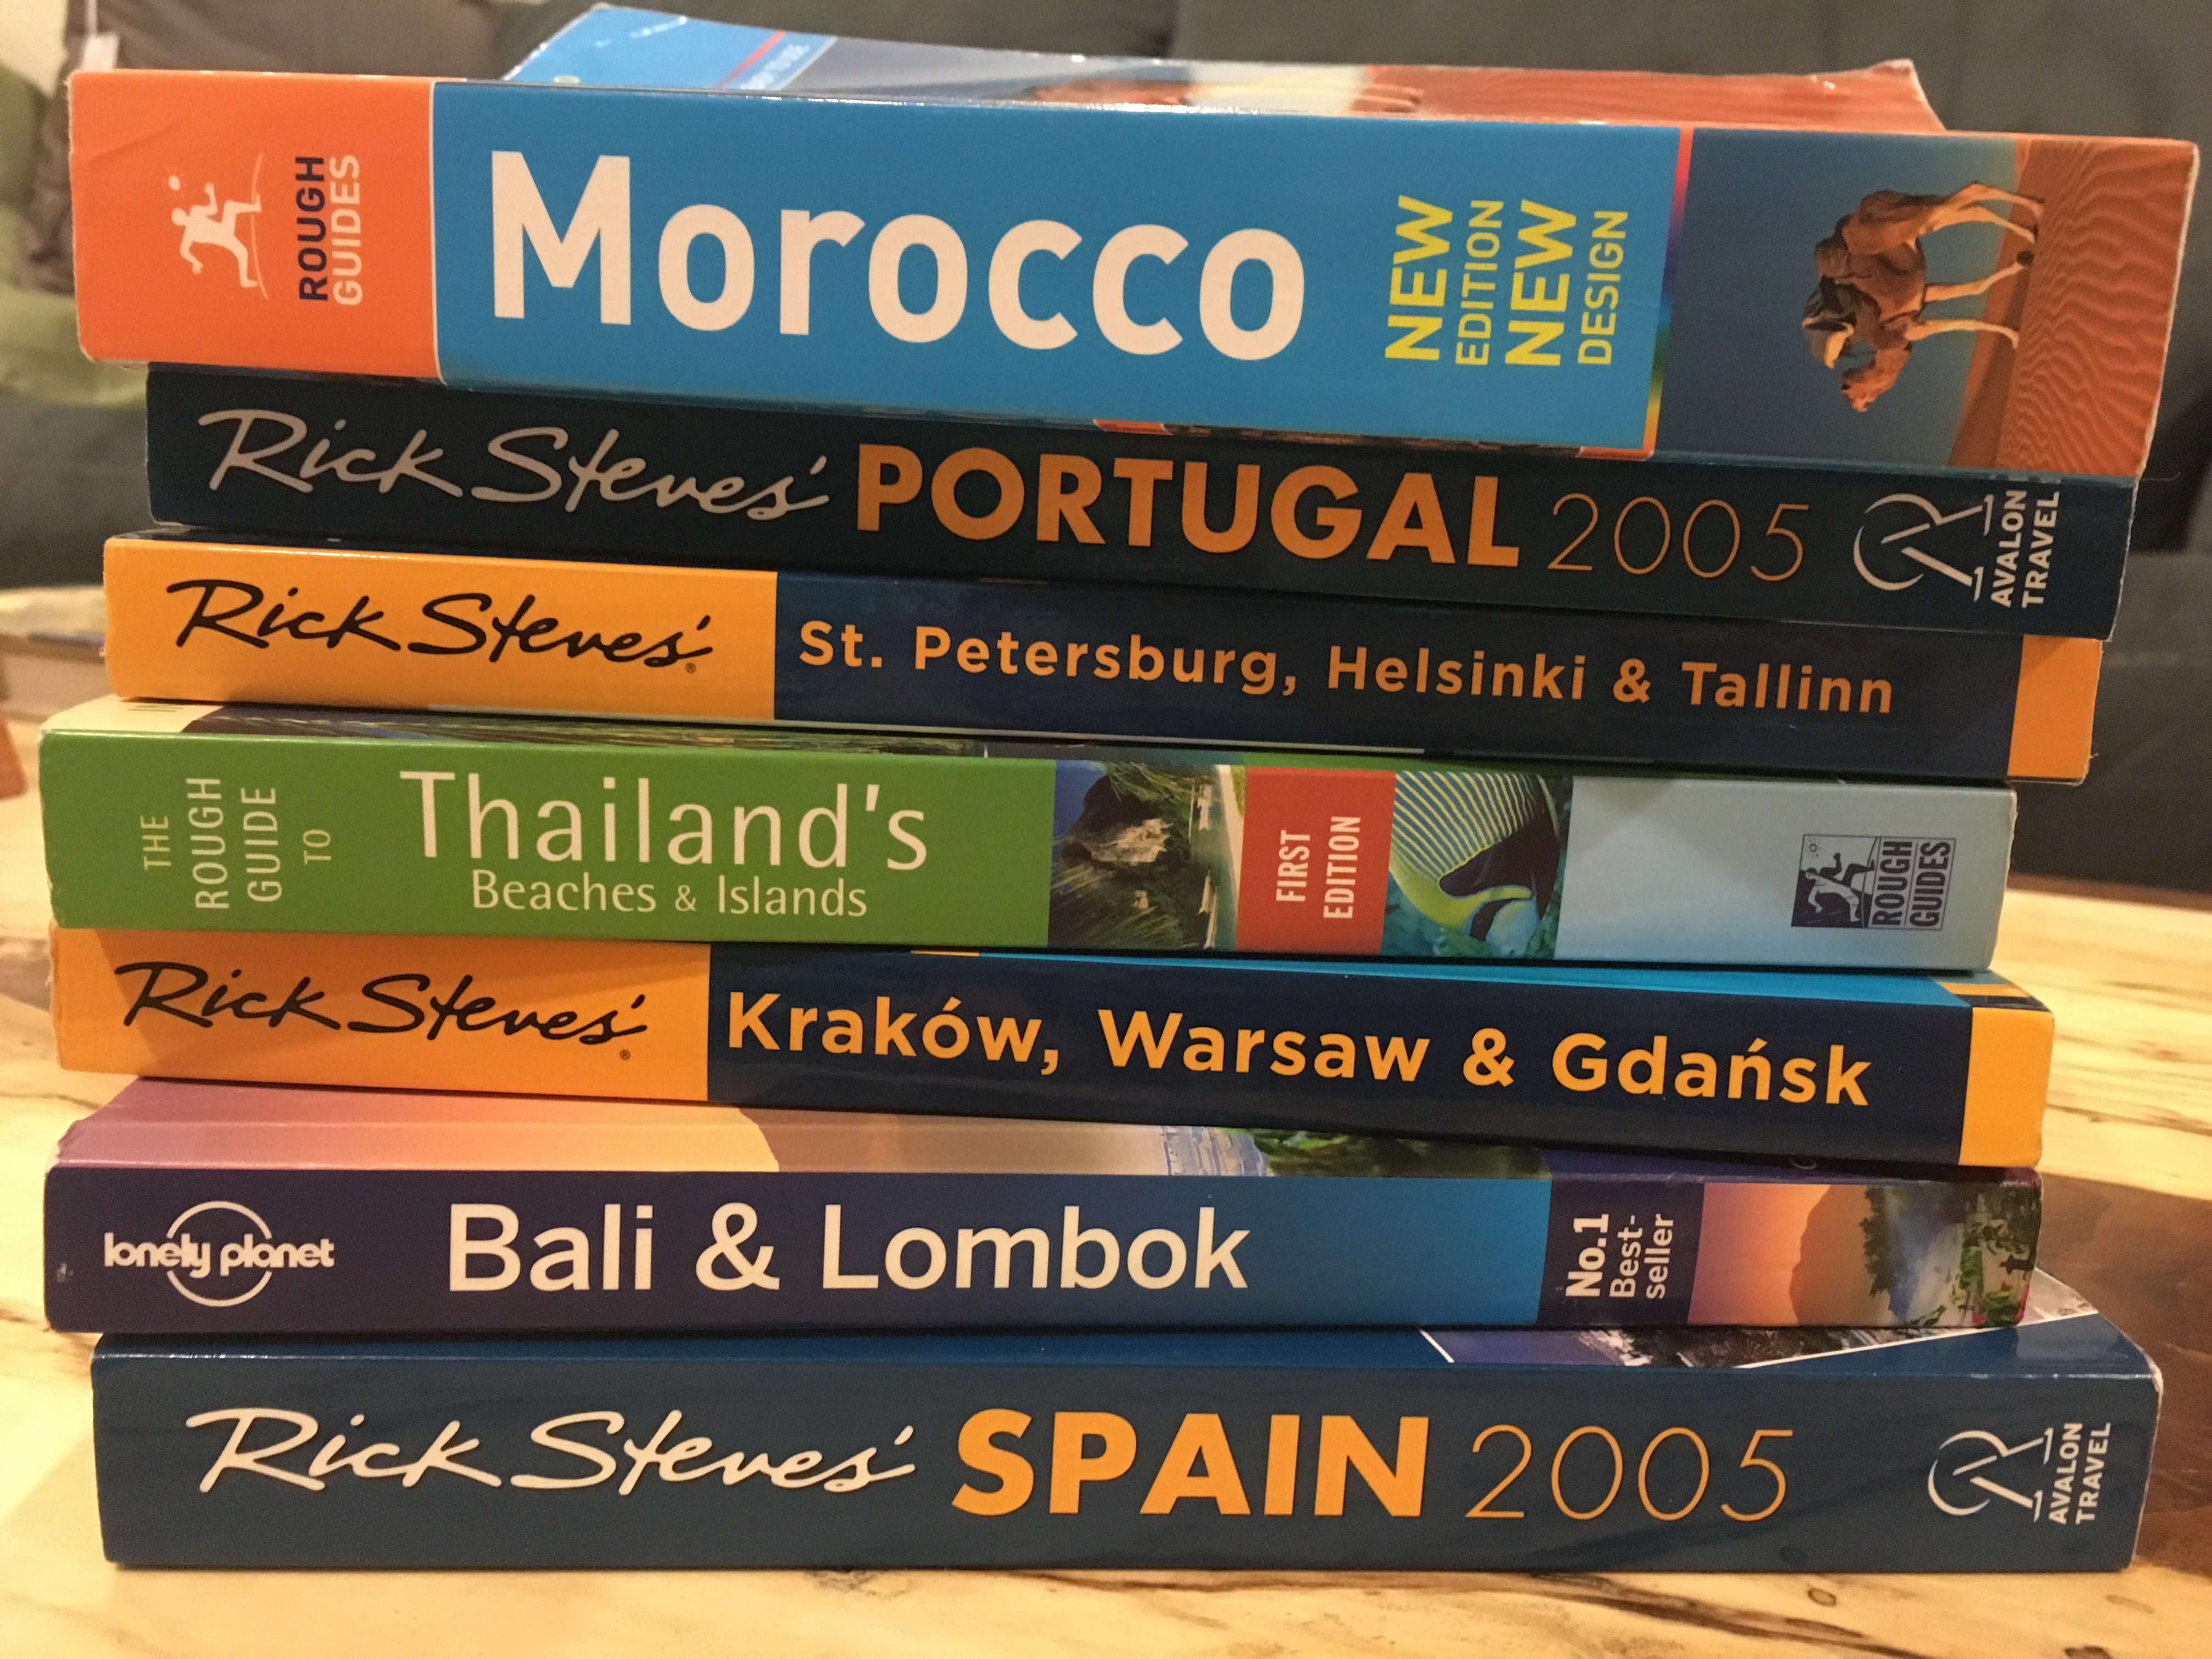
Guide Books are our Friends
.
One of the first things I do after we’ve booked tickets for a trip is make a beeline to the library so I can see what they have for me in the travel guidebook section. I LOVE guidebooks. Nothing gets me more excited about visiting a place than to see all the cool things that…
-

New to Airbnb? Top 10 Reasons to Give it a Try.
.
Are you new to Airbnb? Maybe wondering what all of the fuss is about? That was me about a year ago. I was as green as they get and had never tried any home rental service before. Oh boy, was I missing out. Airbnb was founded in 2008 and claims to have 2,000,000+ listing in…
-

To cruise or not to cruise?
.
Cruise ship travel is not for everyone. So “to cruise or not to cruise?” is the question I will try to answer today. Cruise ship travel may be perfect for you. Or it may be the worst idea ever for your travel style. Or maybe, like me, it is for you every once in a…
-

Global Entry vs. TSA PreCheck
.
Global Entry and TSA PreCheck have changed the way we travel. As Michael would say, “Do you remember a time”……when you didn’t have to bring a ziplock bag with you to the airport? Or when you didn’t have to unlace your boots to walk through the weird, scanny machine? Well, with TSA PreCheck you can…